
Bløtkake – Norwegian Birthday Cake
Story
Normally we would order one from a bakery, but I will show you how easy it could be made. This cake is traditionally ordered in any size, and for the occation. If your opening a store, celebrating your
50th anniversary or just want one because…
The cake comes usually with a sponge, filled with jam and cream. The most common use of jam is
raspberry, strawberry or apricot. When I practised I did see lots of other rare variations, so in the chosing of you flavor of jam everything is allowed. Some bakeries would do one layer of whipped cream and a layer of vanilla cream. Where I practised we mixed the two, to create a whipped vanilla cream. I have
simplified this version down to add real vanilla to the whipped cream. Family and friends seem to really like it!
The important part is the insides and a dry sponge is not giving happy faces. We wet the sponge in a citrus juice like orange. I also always bake the sponge a day in advance so I can freeze it. This way its easier to work with and cut into three layers. Remember to balance the amount of cream and jam so the cake isn’t too tall. Some would add crushed walnuts into one of the layers insid, but be sure there are non allergic to nuts.
Now you have to decide wether you want a marzipan cover or a whipped cream cover. Some would put marzipan on the top, and add whipped cream on the edge. I have even done version with almon slices or shredded chocolate on the edges. This is usually a celebration of something cake. So whatever you feel is best fitted for the occation, is the right one. Well as long as it tastes well.
Download Recipe
Before you scroll down there is a lot of content to this recipe. With several variations and teaching subjects. If you want you could tap the image under to download the recipe, or scroll in the gallery below. That might be an easier way to learn this recipe. I reccommend to read through before you start.


Measurements
Sponge
8 servings
6” cake
4 eggs
2 dl. sugar
2 dl. white flour
1 tsp. baking powder
18 servings
8” cake
6 eggs
3 dl. sugar
3 dl. white flour
2 tsp. baking powder
30 servings
30x20cm cake
10 eggs
5 dl. sugar
5 dl. white flour
3 tsp. baking powder
Additional Info
Servings: 8-30
Preparation time:
20 minutes
Baking time: 45 minutes
Total time: 1+ hours
Baking Temperature:
170o Celcius
340o Fahrenheit
Directions
Turn on the oven, as it needs to be hot as soon as the cake is ready to go in!
Add sugar and eggs to a mixer bowl.
Whisk for about 8 minutes at maximum speed.
Sift in white flour and baking powder, while the machine is still running at maximum speed. Sift slowly!
Place your cake form without a bottom onto a baking plate. Have a baking paper under.
Pour the batter into the form, and smear the mixture up to the edge of the form
Bake in the oven.
Let it cool down for 1 hour.
Turn the cake over, and remove the baking paper, and cut the cake out of the form.
Normally I make this sponge a day or a month, and freeze it.
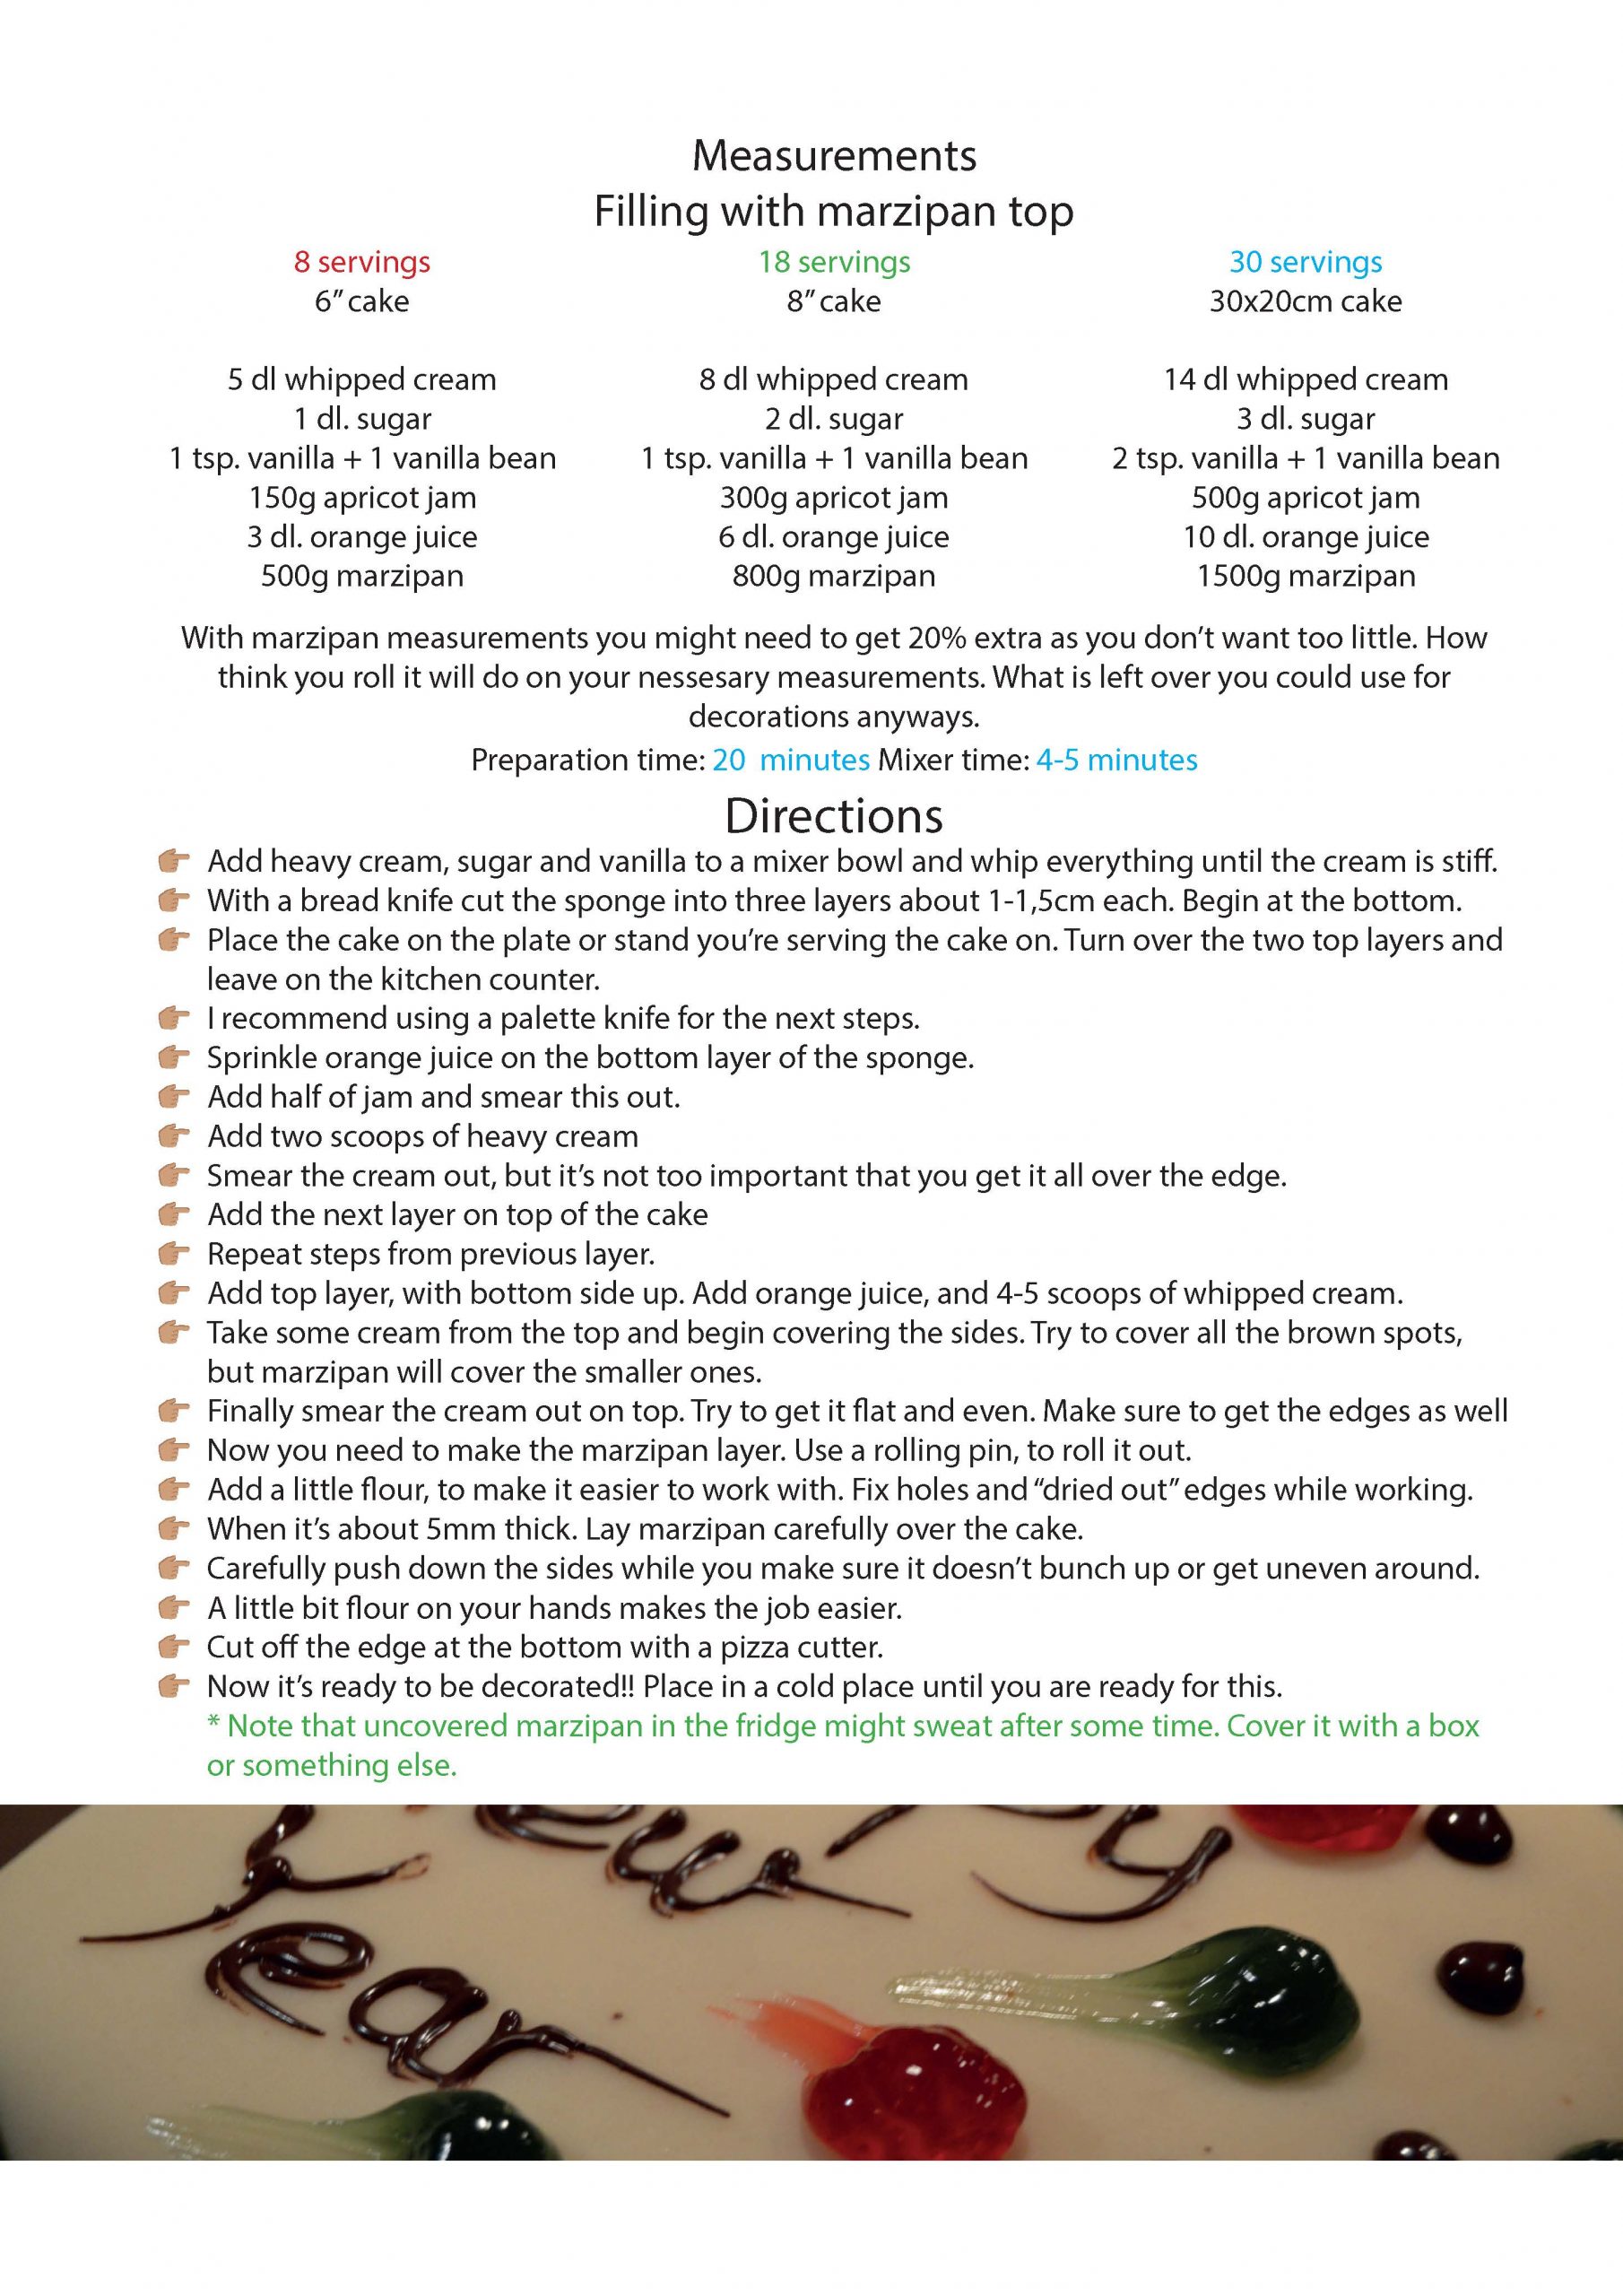
Measurements
Filling with marzipan top
8 servings
6” cake
5 dl whipped cream
1 dl. sugar
1 tsp. vanilla + 1 vanilla bean
150g apricot jam
3 dl. orange juice
500g marzipan
18 servings
8” cake
8 dl whipped cream
2 dl. sugar
1 tsp. vanilla + 1 vanilla bean
300g apricot jam
6 dl. orange juice
800g marzipan
30 servings
30x20cm cake
14 dl whipped cream
3 dl. sugar
2 tsp. vanilla + 1 vanilla bean
500g apricot jam
10 dl. orange juice
1500g marzipan
With marzipan measurements you might need to get 20% extra as you don’t want too little. How think you roll it will do on your nessesary measurements. What is left over you could use for
decorations anyways.
Preparation time: 20 minutes Mixer time: 4-5 minutes
Directions
Add heavy cream, sugar and vanilla to a mixer bowl and whip everything until the cream is stiff.
With a bread knife cut the sponge into three layers about 1-1,5cm each. Begin at the bottom.
Place the cake on the plate or stand you’re serving the cake on. Turn over the two top layers and leave on the kitchen counter.
I recommend using a palette knife for the next steps.
Sprinkle orange juice on the bottom layer of the sponge.
Add half of jam and smear this out.
Add two scoops of heavy cream
Smear the cream out, but it’s not too important that you get it all over the edge.
Add the next layer on top of the cake
Repeat steps from previous layer.
Add top layer, with bottom side up. Add orange juice, and 4-5 scoops of whipped cream.
Take some cream from the top and begin covering the sides. Try to cover all the brown spots, but marzipan will cover the smaller ones.
Finally smear the cream out on top. Try to get it flat and even. Make sure to get the edges as well
Now you need to make the marzipan layer. Use a rolling pin, to roll it out.
Add a little flour, to make it easier to work with. Fix holes and “dried out” edges while working.
When it’s about 5mm thick. Lay marzipan carefully over the cake.
Carefully push down the sides while you make sure it doesn’t bunch up or get uneven around.
A little bit flour on your hands makes the job easier.
Cut off the edge at the bottom with a pizza cutter.
Now it’s ready to be decorated!! Place in a cold place until you are ready for this.
* Note that uncovered marzipan in the fridge might sweat after some time. Cover it with a box or something else.
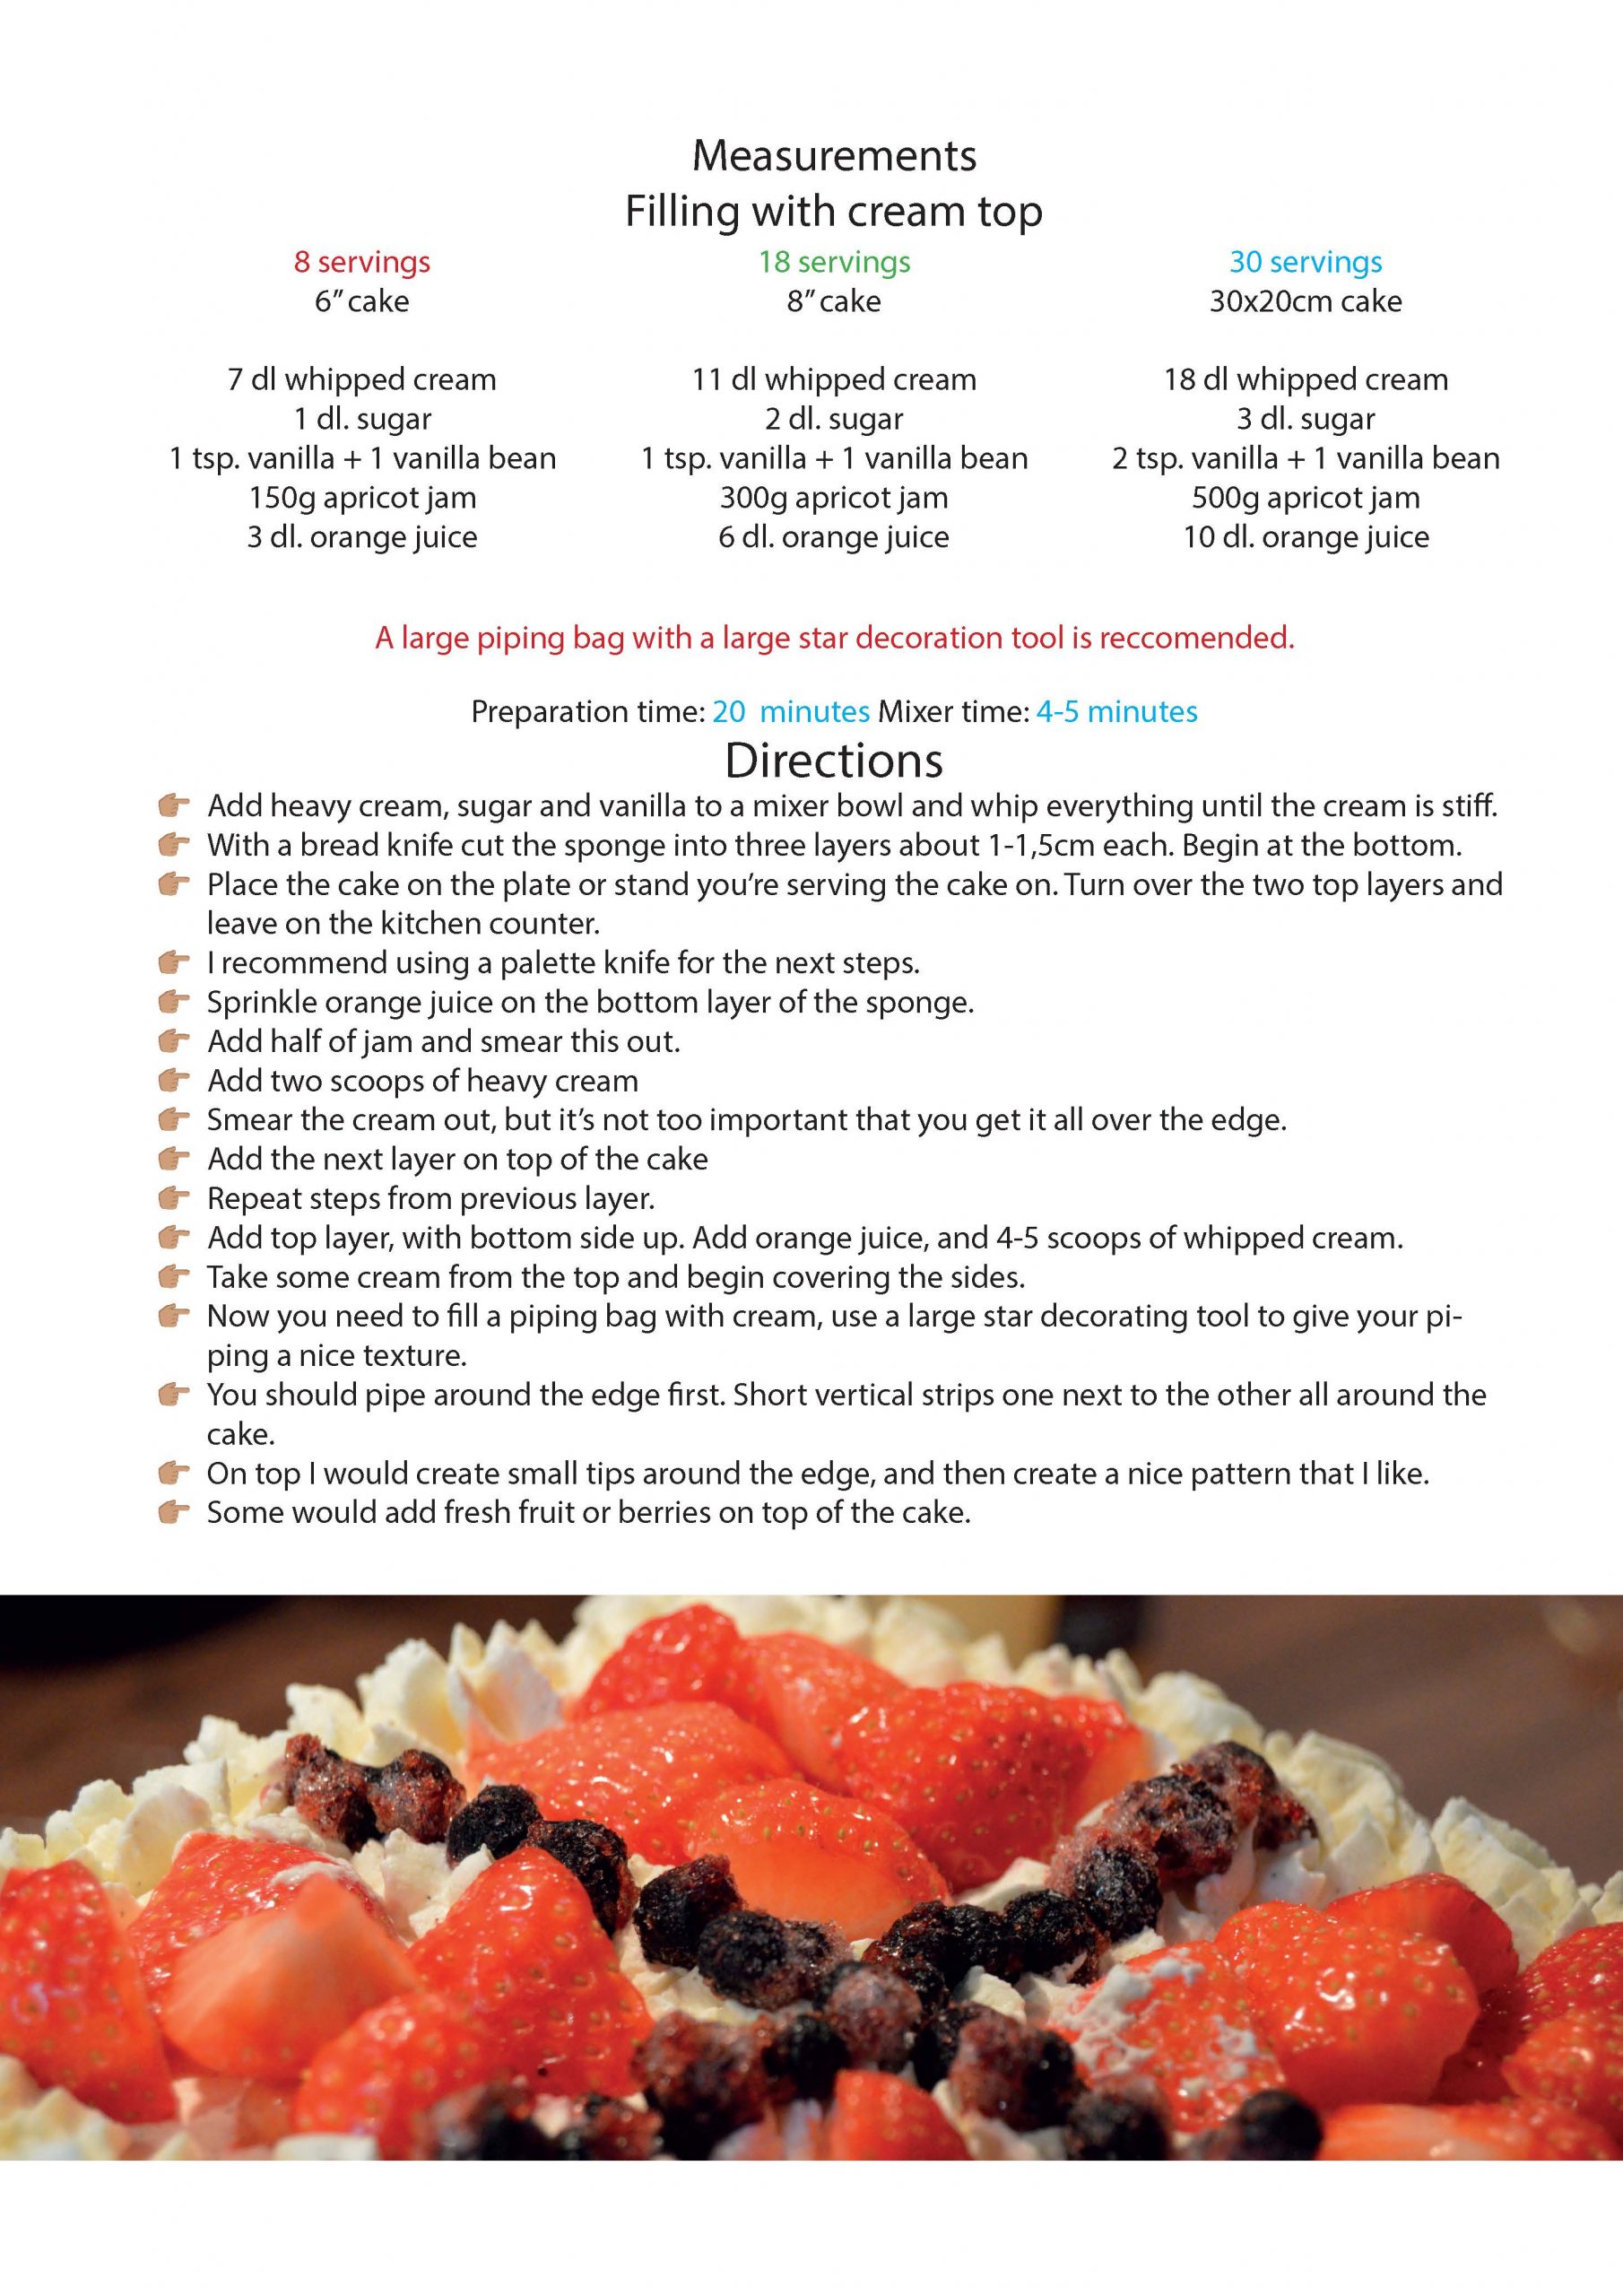
Measurements
Filling with cream top
8 servings
6” cake
7 dl whipped cream
1 dl. sugar
1 tsp. vanilla + 1 vanilla bean
150g apricot jam
3 dl. orange juice
18 servings
8” cake
11 dl whipped cream
2 dl. sugar
1 tsp. vanilla + 1 vanilla bean
300g apricot jam
6 dl. orange juice
30 servings
30x20cm cake
18 dl whipped cream
3 dl. sugar
2 tsp. vanilla + 1 vanilla bean
500g apricot jam
10 dl. orange juice
A large piping bag with a large star decoration tool is reccomended.
Preparation time: 20 minutes Mixer time: 4-5 minutes
Directions
Add heavy cream, sugar and vanilla to a mixer bowl and whip everything until the cream is stiff.
With a bread knife cut the sponge into three layers about 1-1,5cm each. Begin at the bottom.
Place the cake on the plate or stand you’re serving the cake on. Turn over the two top layers and leave on the kitchen counter.
I recommend using a palette knife for the next steps.
Sprinkle orange juice on the bottom layer of the sponge.
Add half of jam and smear this out.
Add two scoops of heavy cream
Smear the cream out, but it’s not too important that you get it all over the edge.
Add the next layer on top of the cake
Repeat steps from previous layer.
Add top layer, with bottom side up. Add orange juice, and 4-5 scoops of whipped cream.
Take some cream from the top and begin covering the sides.
Now you need to fill a piping bag with cream, use a large star decorating tool to give your piping a nice texture.
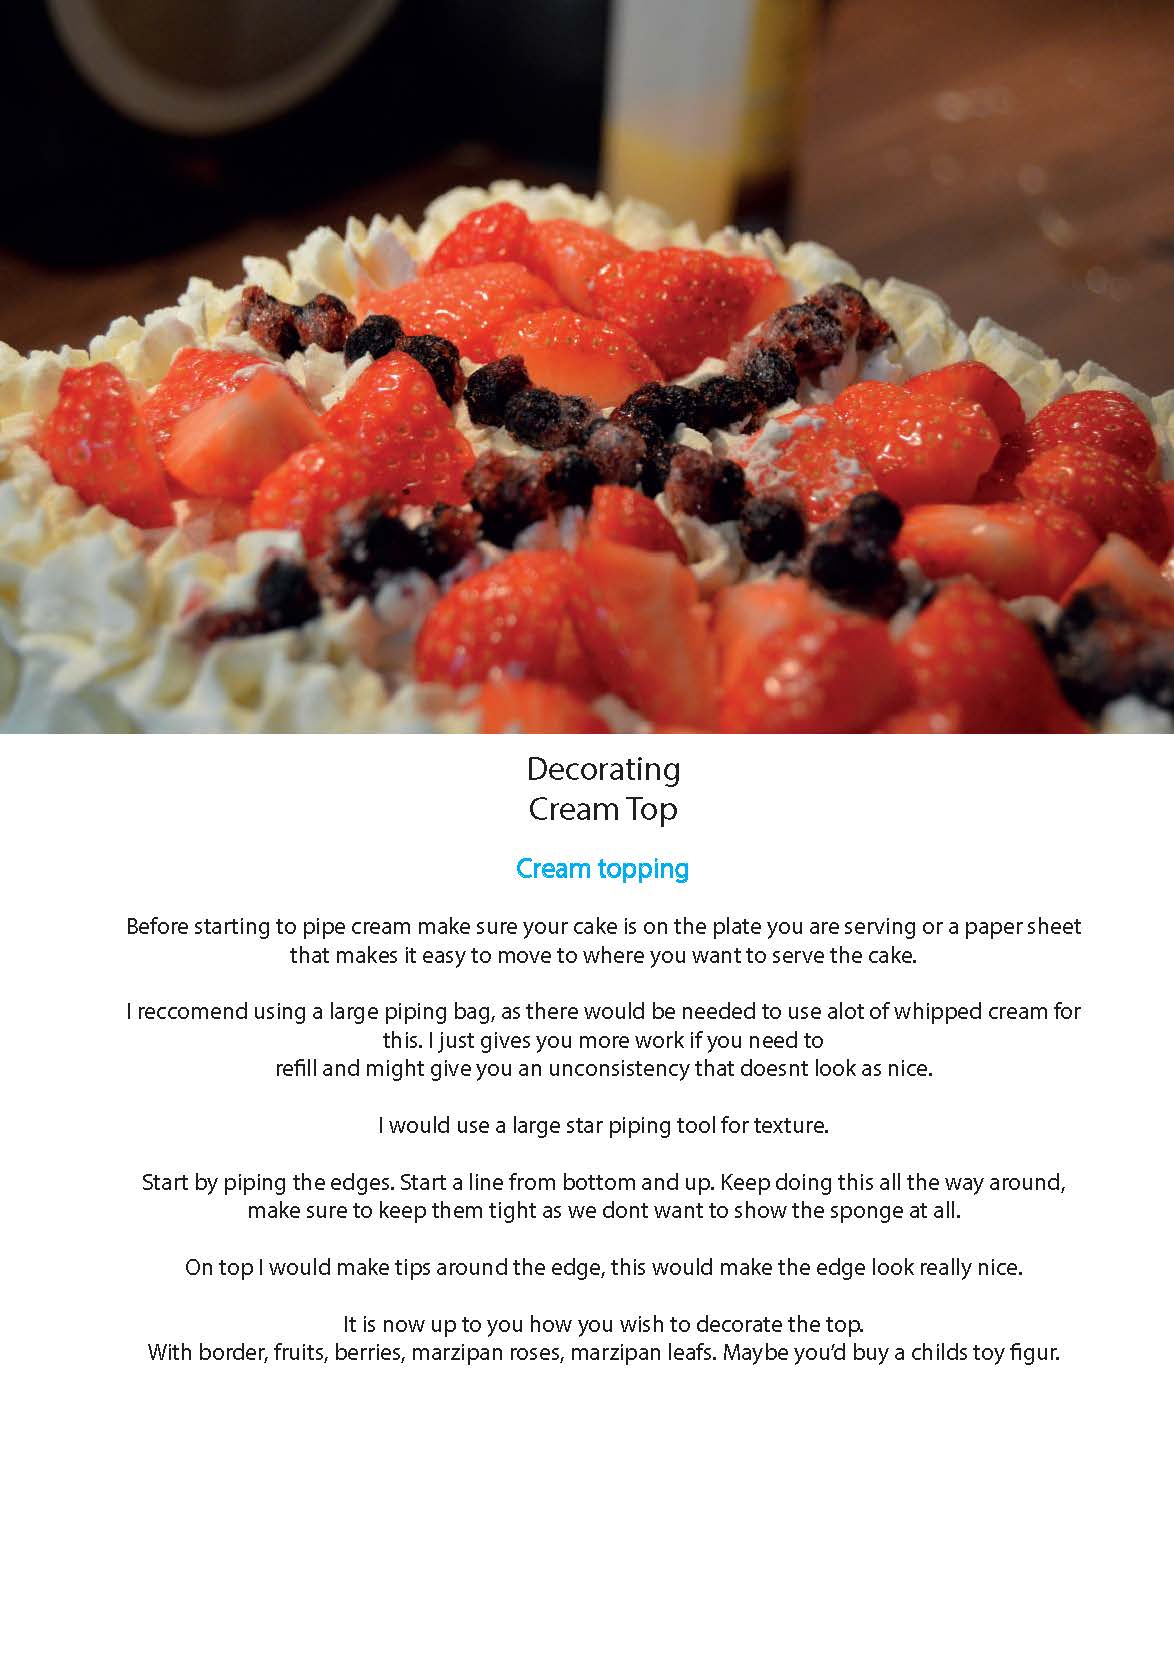
You should pipe around the edge first. Short vertical strips one next to the other all around the cake.
On top I would create small tips around the edge, and then create a nice pattern that I like.
Some would add fresh fruit or berries on top of the cake.
Decorating
Marzipan Top
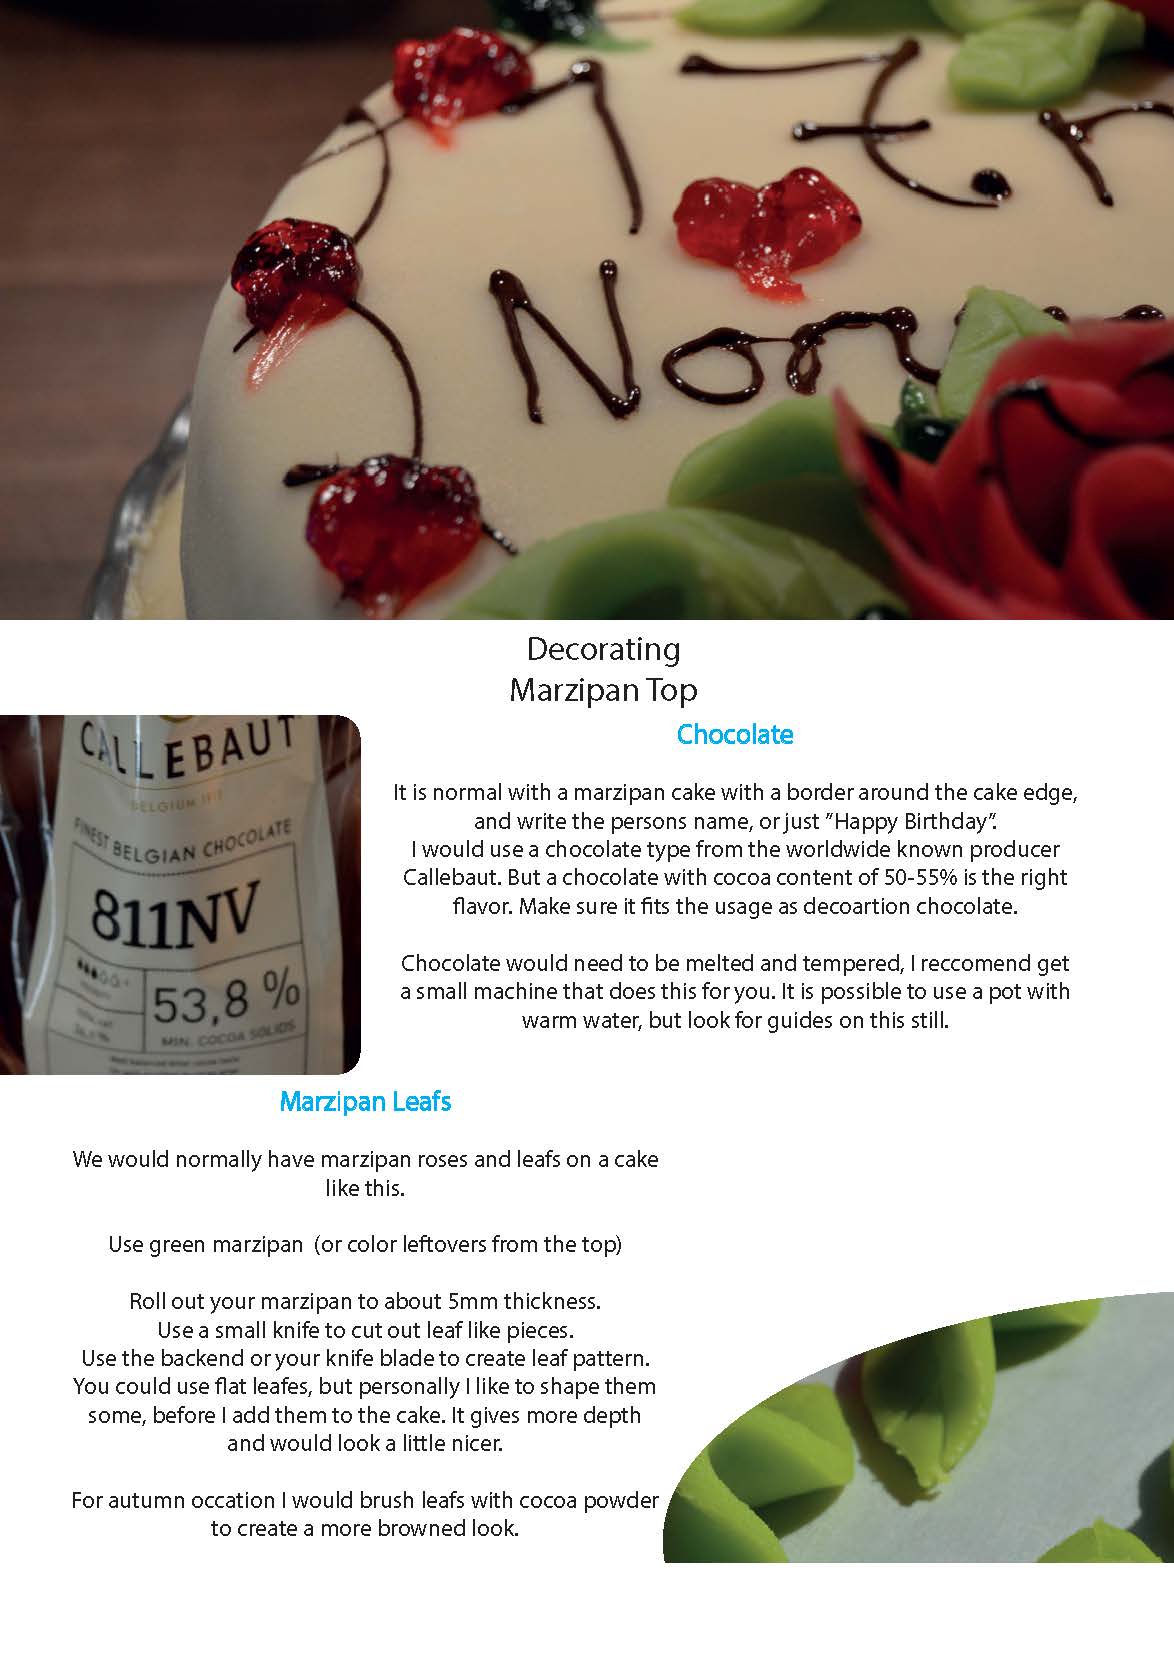
Chocolate
It is normal with a marzipan cake with a border around the cake edge, and write the persons name, or just ”Happy Birthday”.
I would use a chocolate type from the worldwide known producer
Callebaut. But a chocolate with cocoa content of 50-55% is the right flavor. Make sure it fits the usage as decoartion chocolate.
Chocolate would need to be melted and tempered, I reccomend get a small machine that does this for you. It is possible to use a pot with warm water, but look for guides on this still.
Marzipan Leafs
We would normally have marzipan roses and leafs on a cake
like this.
Use green marzipan (or color leftovers from the top)
Roll out your marzipan to about 5mm thickness.
Use a small knife to cut out leaf like pieces.
Use the backend or your knife blade to create leaf pattern.
You could use flat leafes, but personally I like to shape them
some, before I add them to the cake. It gives more depth and would look a little nicer.
For autumn occation I would brush leafs with cocoa powder
to create a more browned look.
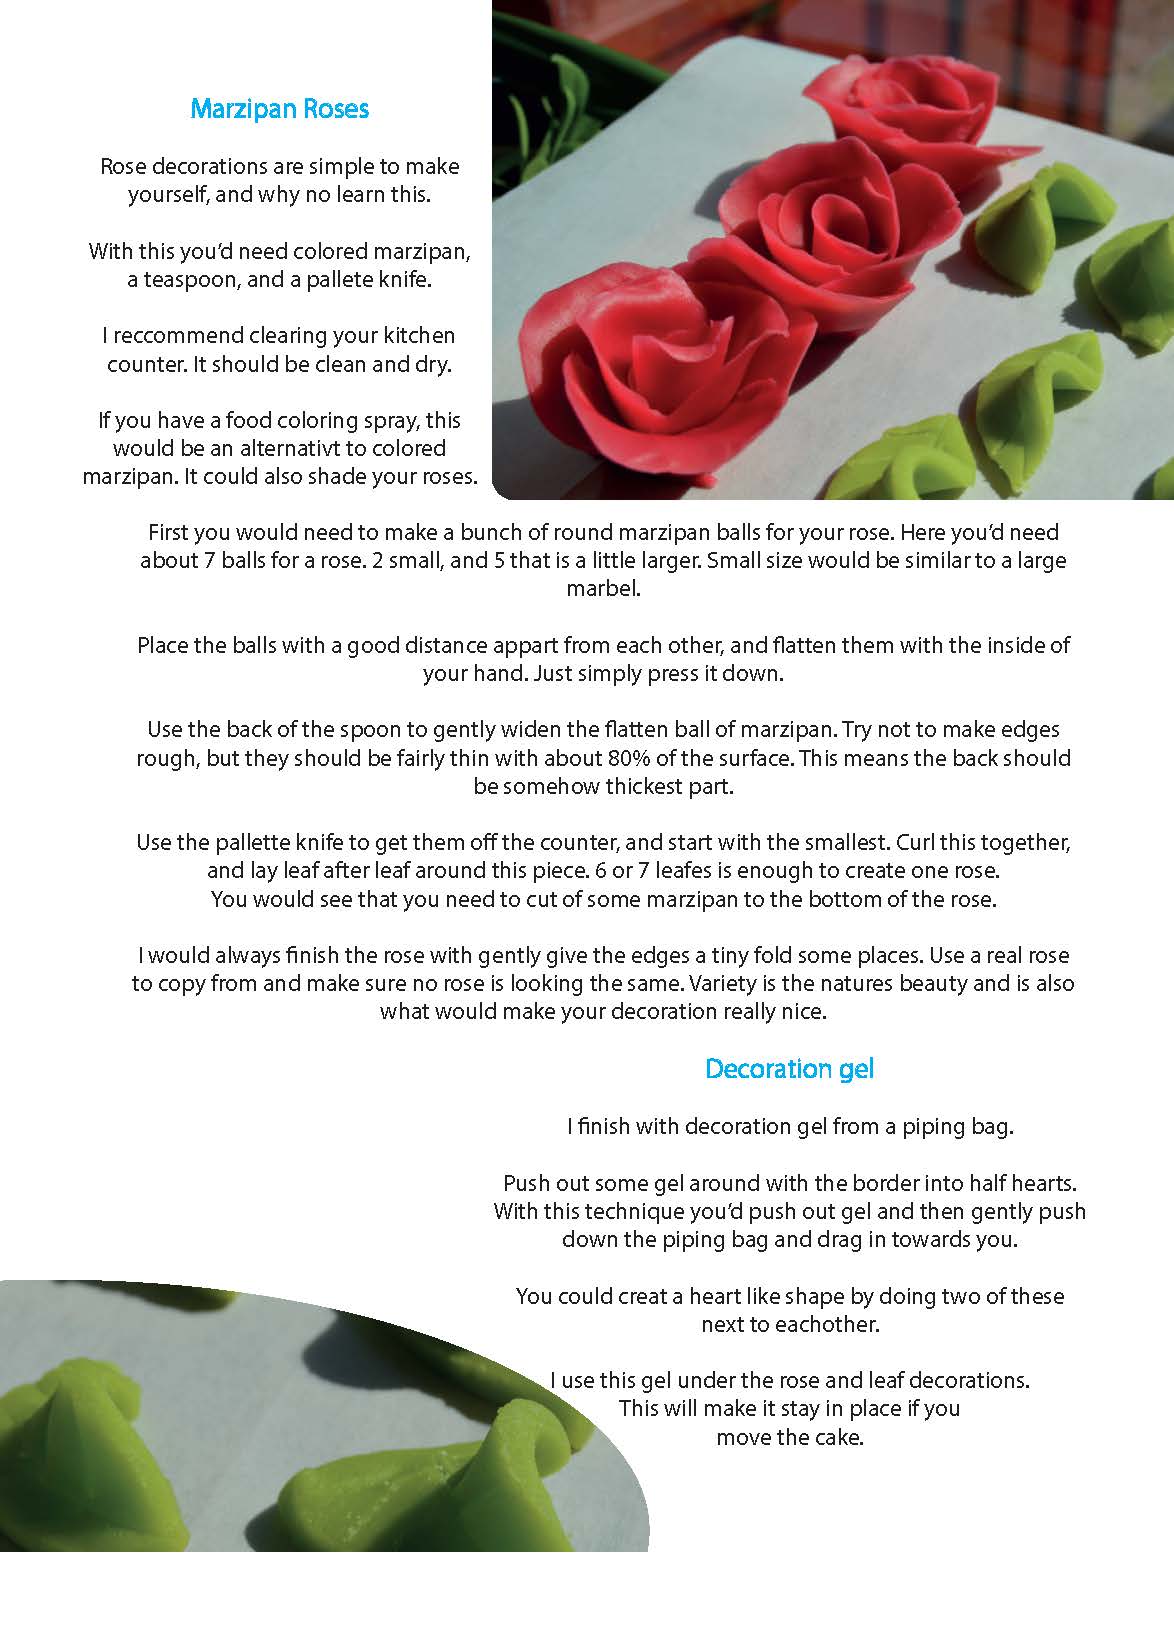
Marzipan Roses
Rose decorations are simple to make yourself, and why no learn this.
With this you’d need colored marzipan, a teaspoon, and a pallete knife.
I reccommend clearing your kitchen counter. It should be clean and dry.
If you have a food coloring spray, this would be an alternativt to colored marzipan. It could also shade your roses.
First you would need to make a bunch of round marzipan balls for your rose. Here you’d need about 7 balls for a rose. 2 small, and 5 that is a little larger. Small size would be similar to a large marbel.
Place the balls with a good distance appart from each other, and flatten them with the inside of your hand. Just simply press it down.
Use the back of the spoon to gently widen the flatten ball of marzipan. Try not to make edges rough, but they should be fairly thin with about 80% of the surface. This means the back should be somehow thickest part.
Use the pallette knife to get them off the counter, and start with the smallest. Curl this together, and lay leaf after leaf around this piece. 6 or 7 leafes is enough to create one rose.
You would see that you need to cut of some marzipan to the bottom of the rose.
I would always finish the rose with gently give the edges a tiny fold some places. Use a real rose
to copy from and make sure no rose is looking the same. Variety is the natures beauty and is also what would make your decoration really nice.
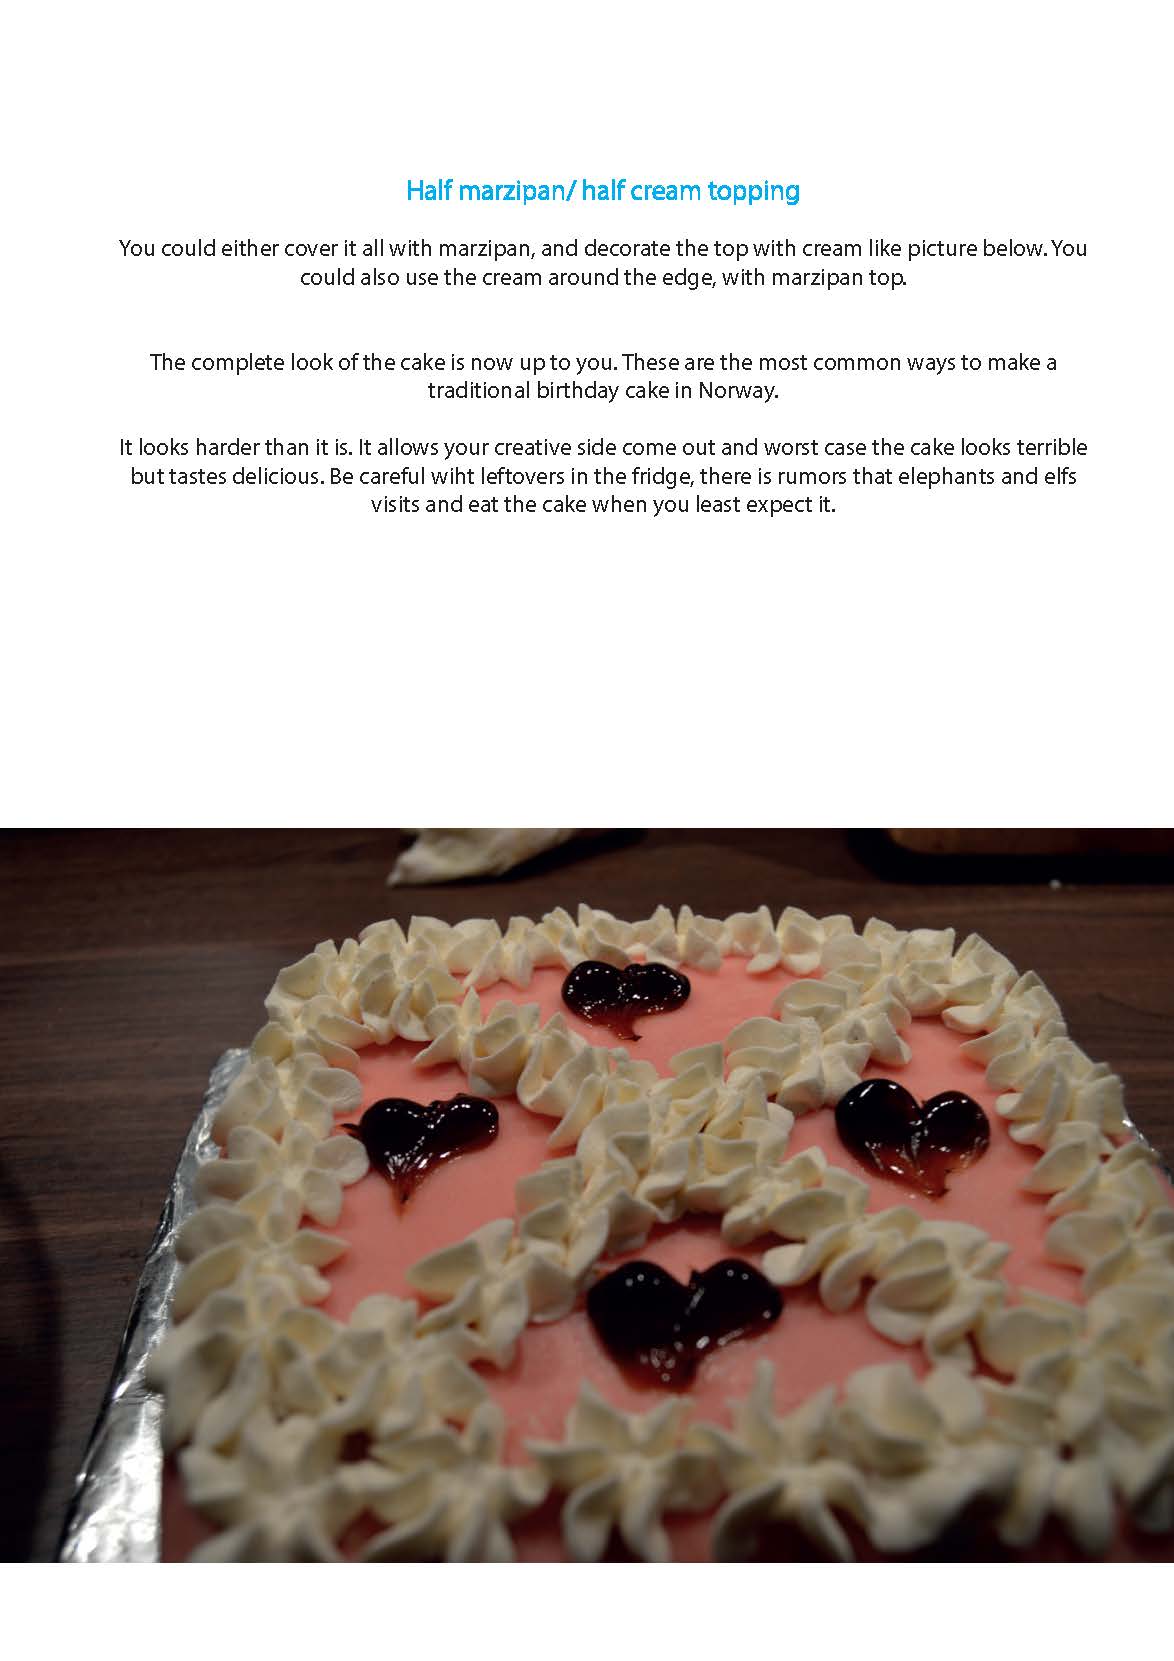
Decoration gel
I finish with decoration gel from a piping bag.
Push out some gel around with the border into half hearts.
With this technique you’d push out gel and then gently push down the piping bag and drag in towards you.
You could creat a heart like shape by doing two of these next to eachother.
I use this gel under the rose and leaf decorations.
This will make it stay in place if you
move the cake.