
[post-views]
Story
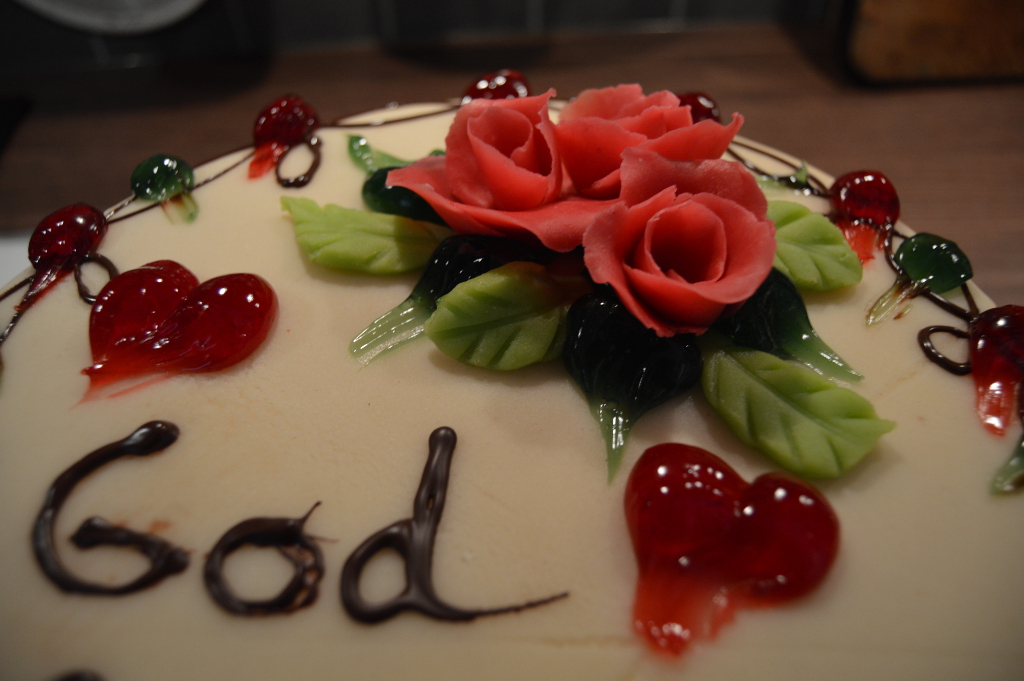
This is the second part of my Norwegian Birthday Cake Special. In this part I will show you how to fill the cake with cream, jam and everything to make this a perfect moist and sweet cake! Here I’ll use marzipan as the last layer.
You can go to next part that will teach you how to decorate.
Part 1
Part 4
Part 3
Part 2
Ingredients
| European Measurements |
| 1 round cake sponge 24cm |
| 1 liter heavy cream |
| ½ tsp. vanilla |
| 5 dl. orange juice |
| 700g cake marzipan |
| 200g sugar |
| 400g apricot jam
(strawberry or Raspberry) |
| US Measurements |
| 1 round cake sponge 24cm |
| 33.8 oz. heavy cream |
| ½ tsp. vanilla |
| 16.9 oz. orange juice |
| 24.7 oz. cake marzipan |
| 7 oz. sugar |
| 14.1 oz. apricot jam
(strawberry or Raspberry) |
Directions
- Add heavy cream, sugar and vanilla to a mixer bowl and whip everything until the cream is stiff.
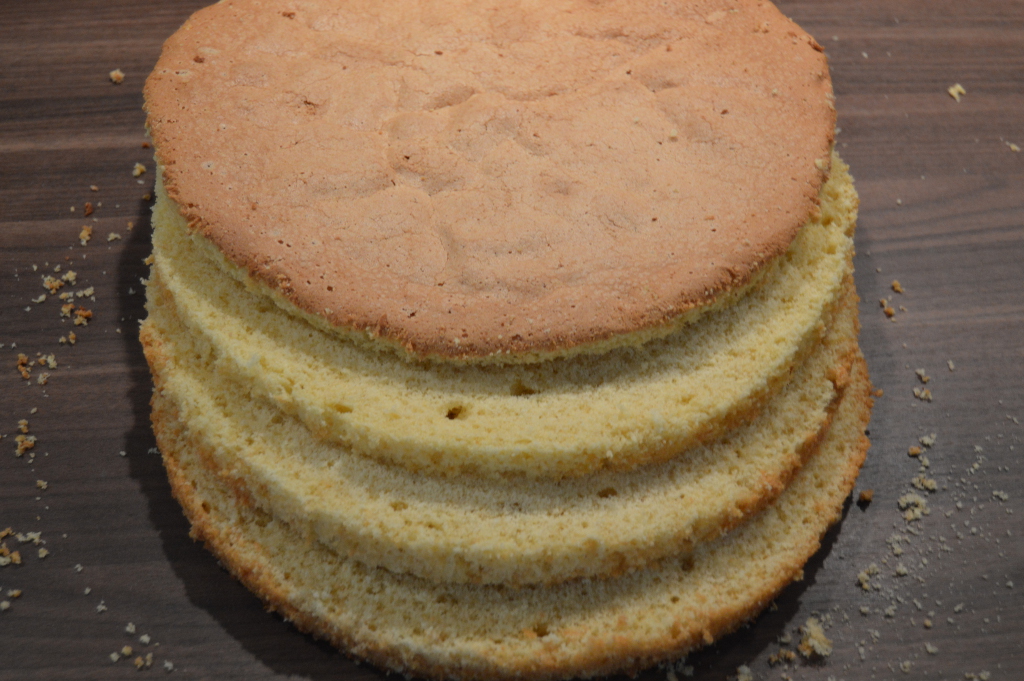
- With a bread knife cut the sponge into three layers. Begin at the bottom.
- Place the cake on the plate or stand you’re serving the cake on. Turn over the two top layers and leave on the kitchen counter.
- I recommend using a palette knife for the next steps.
- Sprinkle orange juice on the bottom layer of the sponge.
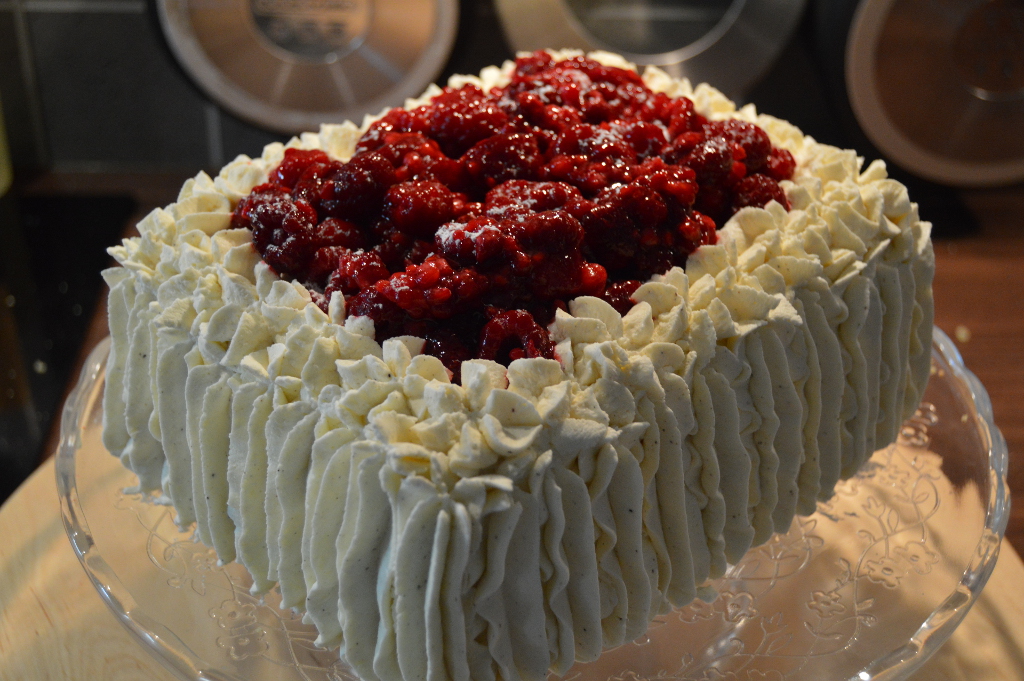
- Add 4-5 tbsp. jam and smear this out.
- Add two scoops of heavy cream
- Smear the cream out, but it’s not too important that you get it all the way out and over the edge.
- Add the next layer on top of the cake
- Repeat steps from previous layer.
- Add top layer, with bottom side up. Add orange juice, and 4-5 scoops of whipped cream.
- Take some cream from the top and begin covering the sides. Try to cover all the brown spots, but marzipan will cover the smaller ones.
- Finally smear the cream out on top. Try to get it flat and even. Make sure to get the edges as well
- Now you need to make the marzipan layer. Use a rolling pin, to roll it out.
- Add a little flour, to make it easier to work with. Fix holes and “dried out” edges while working.
- When it’s about 5mm thick. Lay marzipan carefully over the cake.
- Carefully push down the sides while you make sure it doesn’t bunch up or get uneven around.
- A little bit flour on your hands makes the job easier.
- Cut off the edge at the bottom with a pizza cutter.
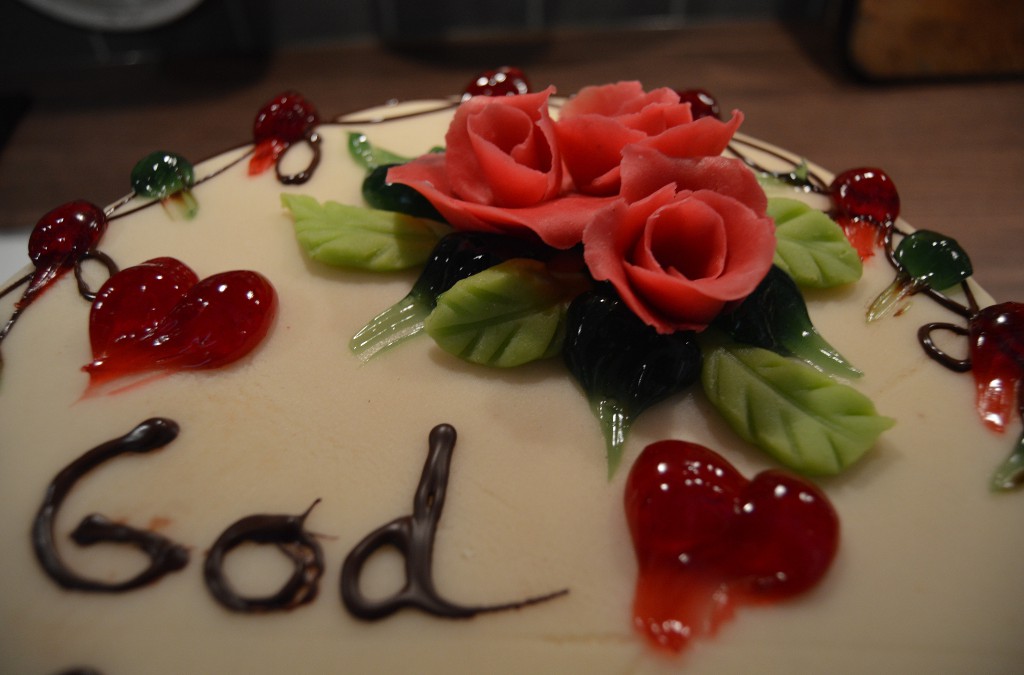
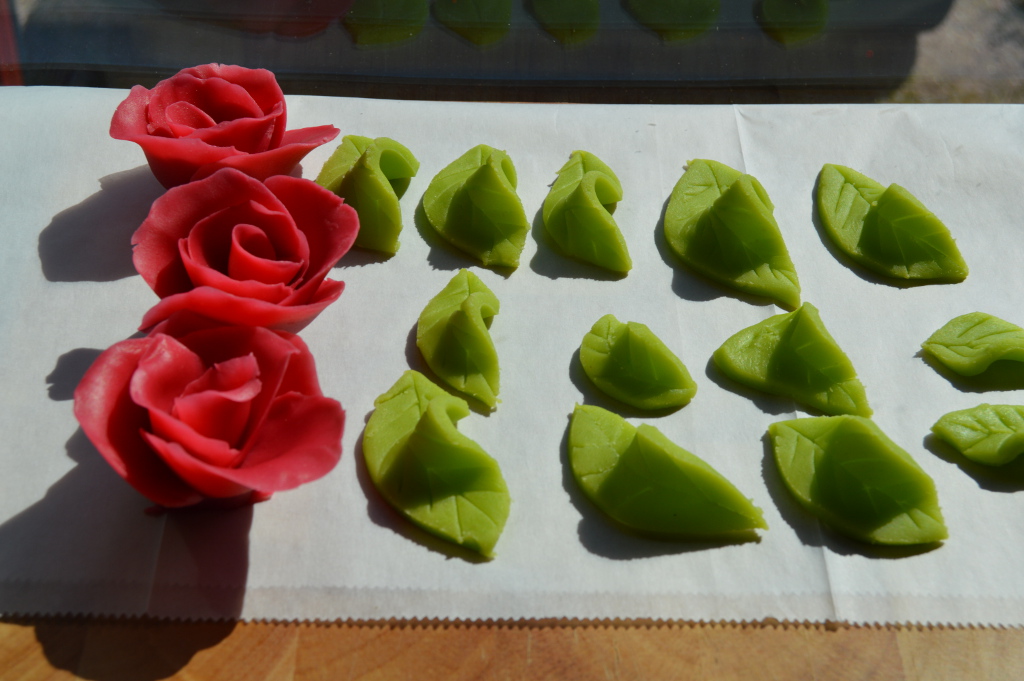
- Now it’s ready to be decorated!! Place in a cold place until you are ready for this.
